Creating a Build
Finale’s Build feature is designed to help manufacturers, wholesale distributors, and others in need of assembling products or performing basic manufacturing activities to fulfill orders. With Finale, you can easily create finished products in quick and simple way, thanks to its specialized capabilities. If you want to learn more about the build process workflow and creating a build, you can find more information on this page.


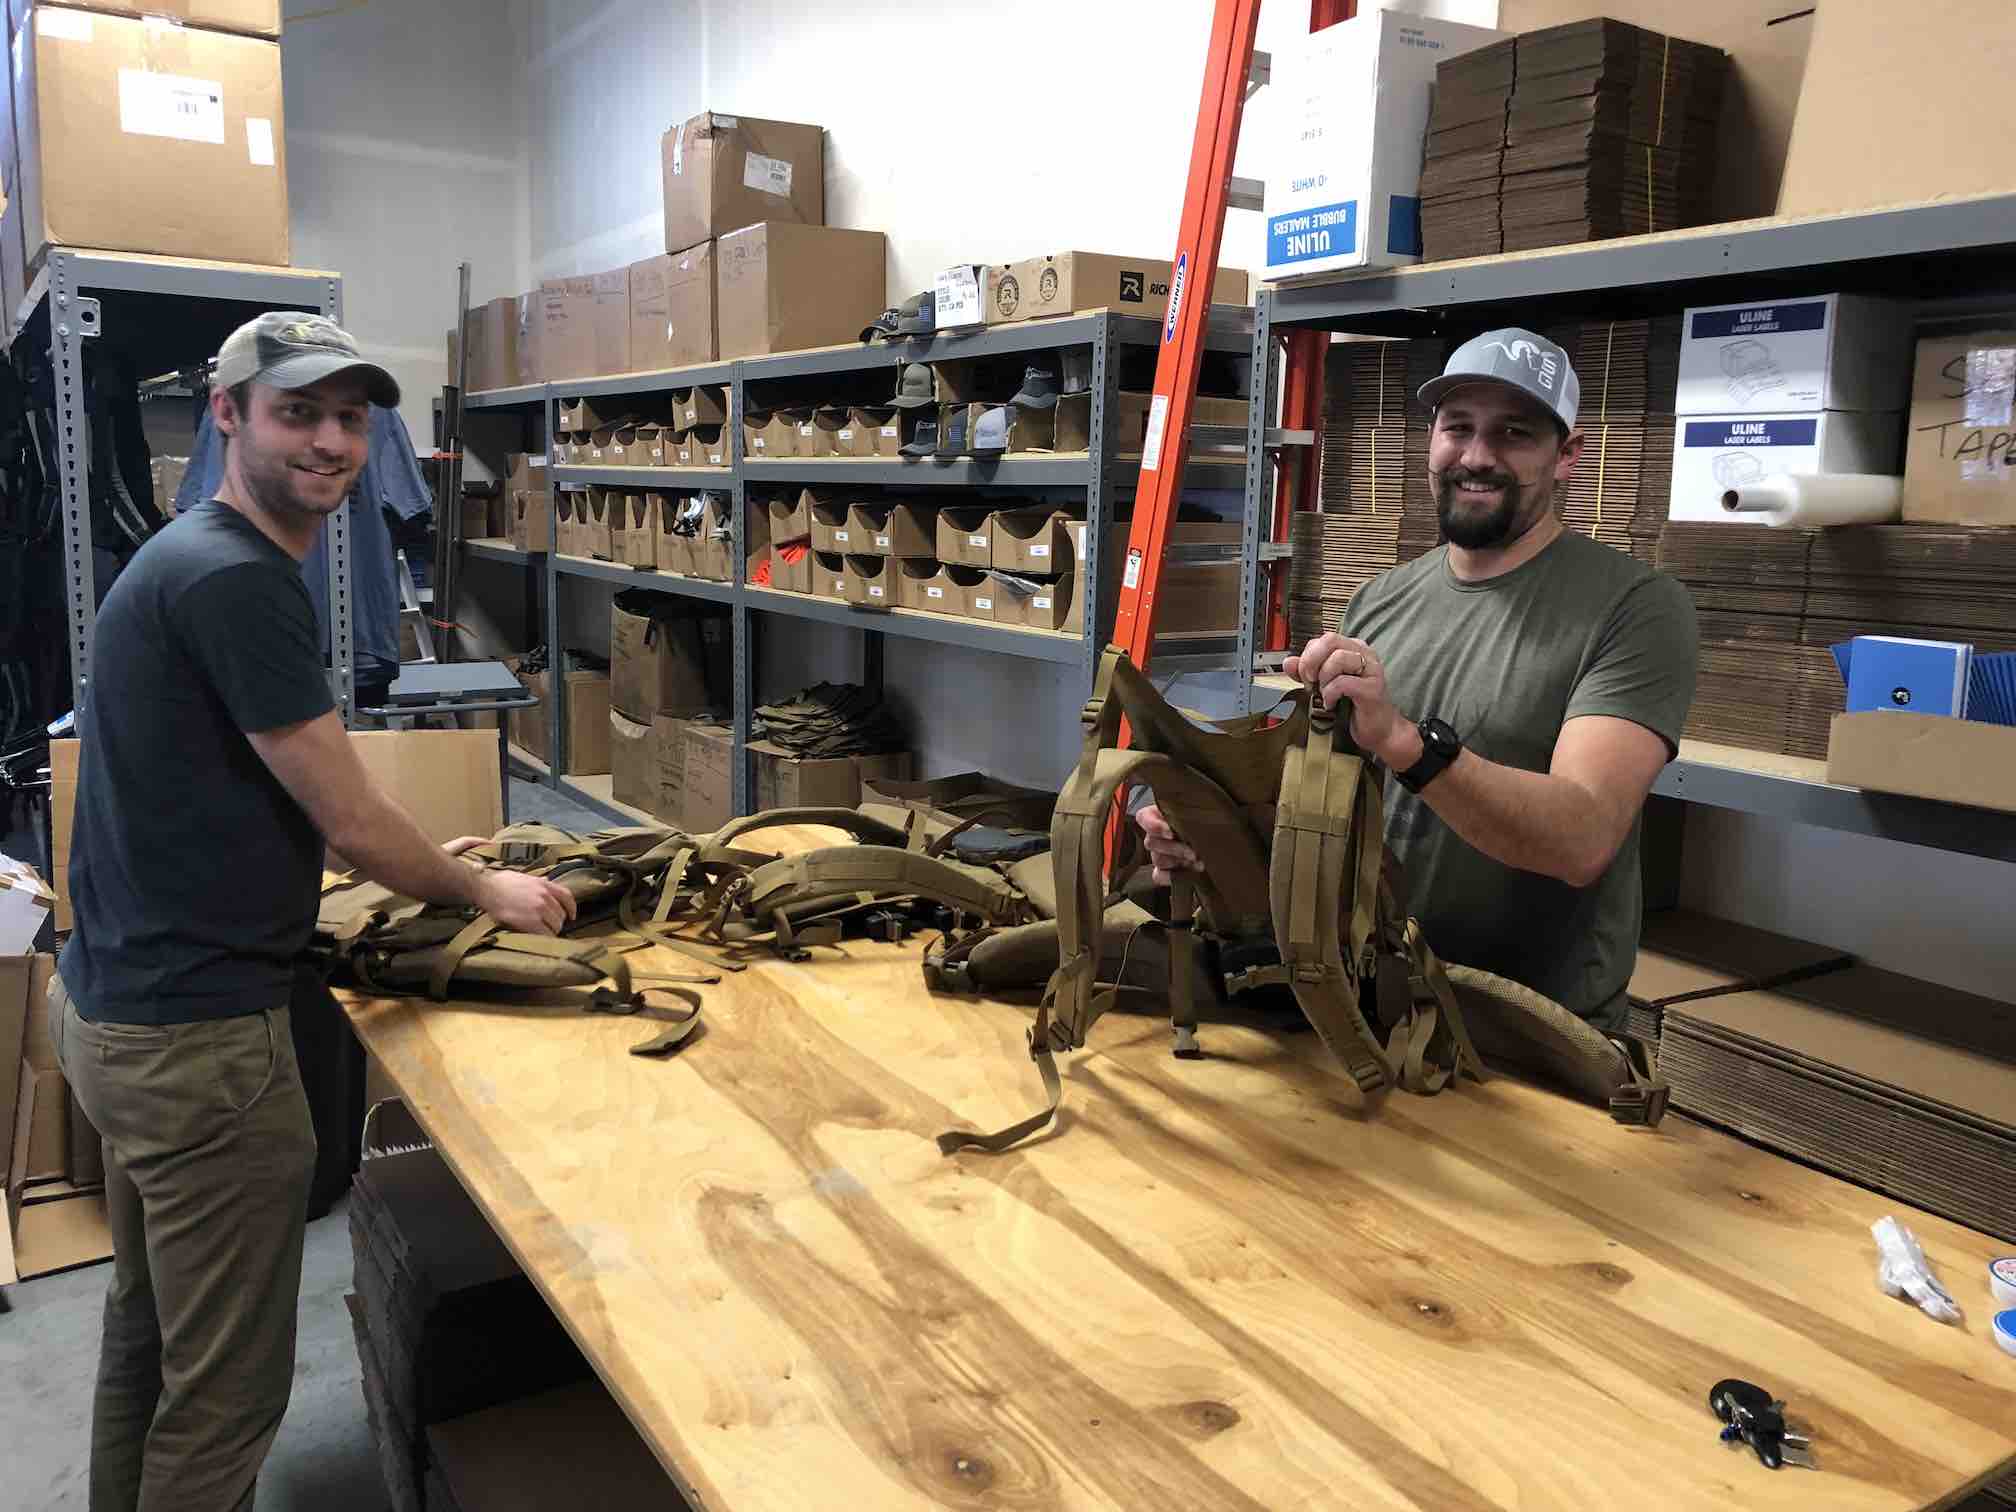
Stone Glacier uses the builds operation to assemble their premium ultra light packs.
Creating a build video tutorial
Video Transcription
Hi, this is Shaquille at Finale Inventory. In this short video demonstration, we’ll be discussing how to create an assembly line or manufacturing build using Finale Inventory’s build feature.
So we mentioned assembly line and manufacturing, but what exactly is a build? In Finale, when we talk about a build, we’re generally referring to light manufacturing, the process in which you would essentially consume several products to create a brand new product.
To execute on a process like that, we would need to leverage some kind of blueprint or recipe that would tell us the components of that product. So this is where, in Finale, we would leverage our bill of materials. So let’s take a look at how we can create one of those. Here I have my first aid kit, and I’m gonna create that bill of material or that recipe that details the components of my build. So I’m going to add the first component, which is my EpiPen. I’m gonna add the remaining components now. So at this point, we would need to add the quantity amounts for the total build.
Here I’m detailing to Finale that in order to make a first aid kit, I would first need to consume this quantity level for each of these products. So here I can create a potential quantity of 10 due to my limiting factor being my EpiPen, which I only have 10 of. So at this point, I’m going to save changes and we’re gonna navigate a little bit over to the build screen so that we can see how that looks from that side.
We can get to builds from the navigation menu right here on the home screen under builds. Or we can also use the navigation bar and search for builds here.
Let’s create a build so we can use the Create a Build option here. At this point, we can opt to use a couple of different naming conventions. We can use a system-generated ID, or we can use some unique IDs for identifying our builds. Sometimes we may opt to use the worker name that’s assigned to generating the build, or we can use a date if we’re doing things like using lot IDs so that we can better identify when this build was executed and increase some traceability. So in this case, I’m gonna use today’s date.
So here we are on the builds details page where we can select the product that we wanna produce. So we’re gonna select our finished goods first. So in this case our kit, first aid kit, and here we can see that finale will automatically generate that recipe or that blueprint for this finished. Good. So, to make this product the stock that we’ll be consuming. The EpiPen, the gauze the aspirin, the pamphlet, as well as that first aid case. The next thing that we want to typically identify is the quantity that we want to produce. So in this case, I want to produce 10 here. We can do, use a lot ID that we wanna establish for this finished good. So I’m gonna use the most recent expiration date for the product that I’m using.
So here, in this case, I’m gonna detail June 5th, 2030. The sub-location we want to produce the finished goods in. We can add a description field as well if we have any additional information we wanna add before we complete this particular build once we’re done, we can just press start and complete. Although we didn’t need to, we can actually change the quantity numbers for each sub-location for the stock that we want to consume. So if we had this particular product existing in other sub-locations, our different lot IDs, we can distinguish which one we actually want to consume. In this case, we consumed all the EpiPens, so there was no need to distinguish between those two, and our other products all existed within one sub-location.
You can also see for the stock to produce, we actually do get that increase of 10. which we entered in here originally. And while we can see and review all this information here, we can also see that on our stock page, which we should do right here. We can see now that we’re actually holding stock for the first aid kit, whereas previously we weren’t holding any stock values and now we no longer have any values for our EpiPen or our gauze. We still have some units remaining for these products because we previously had 100 of each.
We can also look at re-traceability when it comes to our builds. If we take a look at our stock history page, let’s put on some filters so that we can see this product a little bit easier here. We can see that we created a build and that we consumed five for this particular lot ID, and we consumed the remaining five for this lot ID totaling 10 so that we could create these 10 for first aid kits. This will really enhance your traceability when it comes to your light. Manufacturing helps aid in that re-traceability, so when customers respond to you, to your orders. Notices of, sicknesses or things of that nature or expired goods, we can go back to these builds using these lot IDs and check those expiration dates and call back all the orders that were associated with them.
In addition to this traceability, we can also see that our product at previously had no average cost associated with it now has an average cost. The average cost is attributed to the products that we use to consume. To make up this first aid kit that ends our demonstration on how to create products or finished goods with Finale’s light manufacturing option.
If you have any questions or concerns, please feel free to reach out to us at service@finaleinventory.com and we’d be happy to help.


